 |
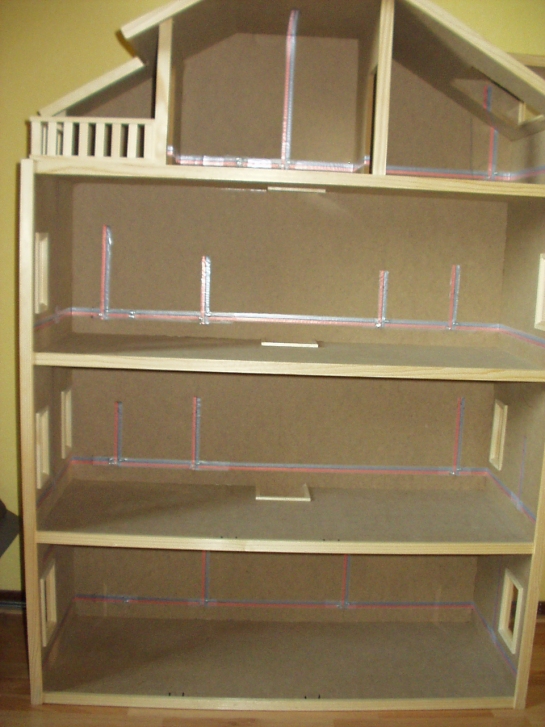
This
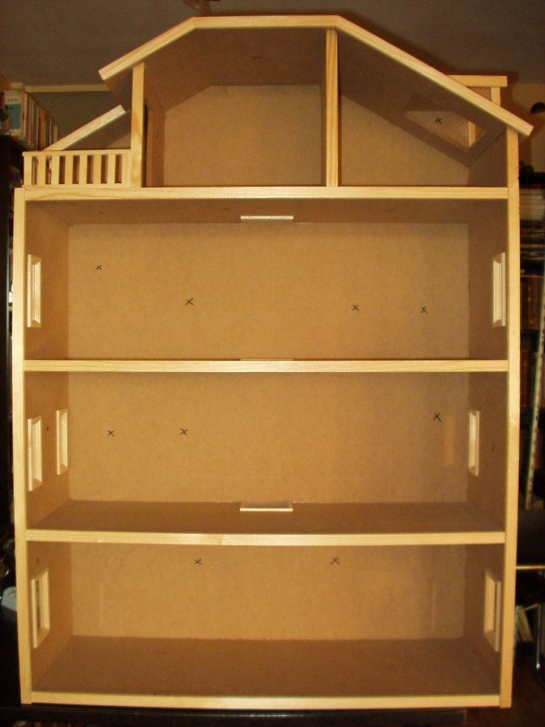
is our first project. In this dolls house, crosses indicate the spots
where lights are planned.
We
hope you will find sufficient information on this site to electrify your
dolls house on your own. If you should have any questions, do not
hesitate to E-mail us; you will find a link to our E-mail on our
homepage. Have fun lighting up your house!
|
|
Putting the copper tape in |
|
|
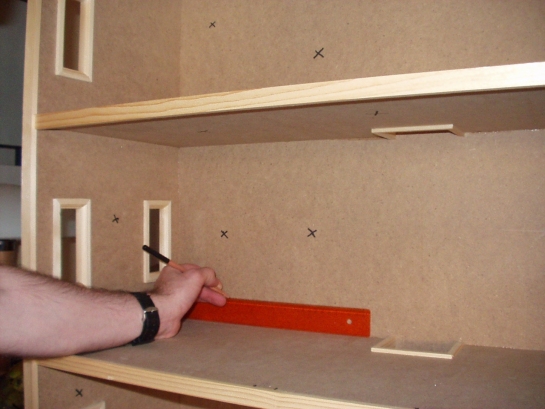
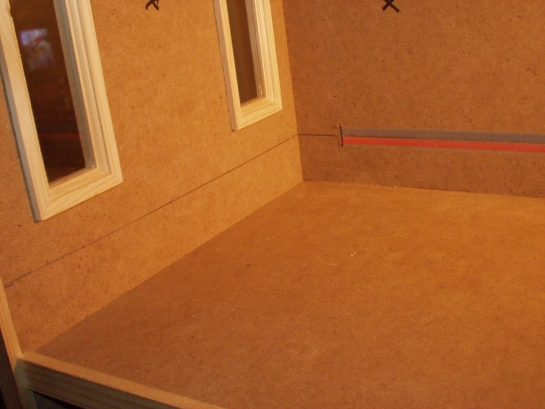
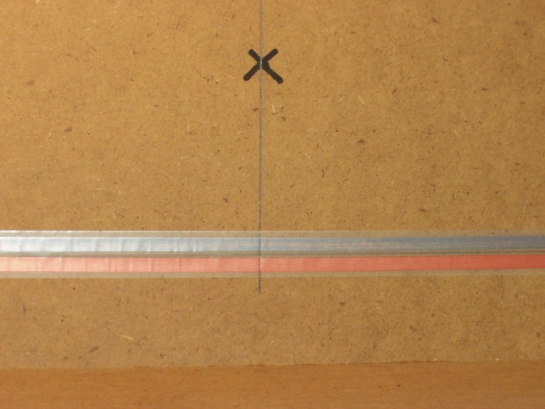
First
task: draw a central line throughout your house. We usually do this at
the bottom of the walls, at the height of a simple ruler. This method
makes it easy to place outlets after wallpapering. |
 |
| |
|
|
On
each floor, we make a small groove to the back of the house. This makes
it possible to connect each floor to an other one. Depending on the
material/thickness you can either drill a row of holes above each other
and then cut a groove from the holes with a good craft knife (thin
material). You can also use a keyhole saw (available from Stanley, for
use with a nr. 199 Stanley knife) for thicker wood. Careful !
|
 |
| |
|
|
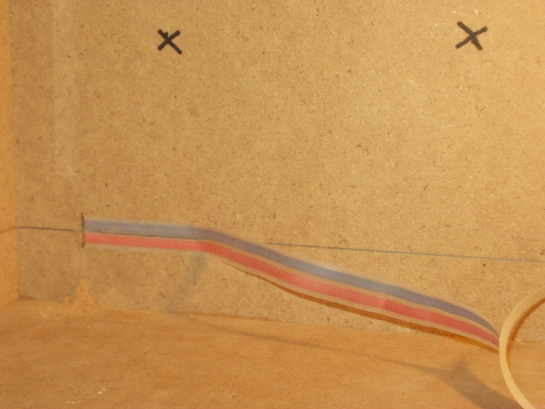
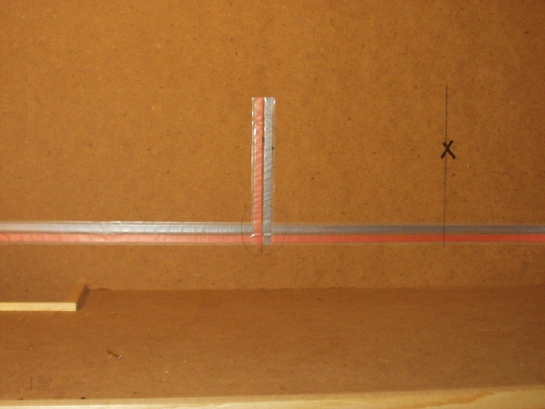
The grooves
you make must be as wide as the copper tape you’re using, or 2 mm wider:
pull the first piece of tape through the groove, about 4 cm, the
adhesive side to the back |
 |
| |
|
|
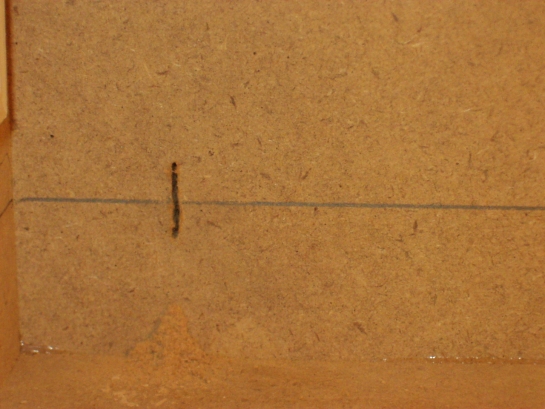
Now,
follow the central line you made earlier; keep the line in the middle of
the two sides of the tape. |
 |
| |
|
|
We will come
back to the left wall in a moment. |
 |
| |
|
|
Use an old
credit card or bank card to put the tape neatly into the corner.
|
 |
| |
|
|
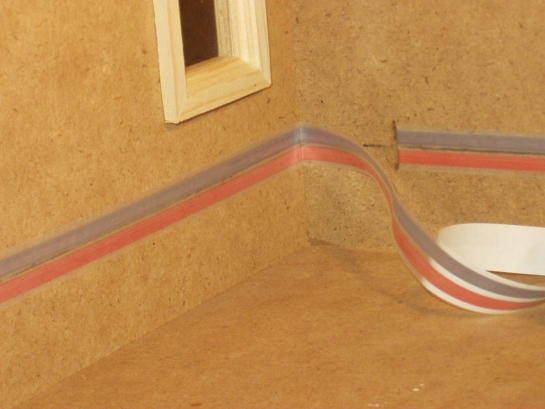
Finish
with the wall on the left side of the groove..
Once arrived at the groove, overlap the groove with 2 cm, but do not
remove the backing on this small piece. Cut with scissors, NOT a knife.
If you use a knife, you could cut through the connection, and the lights
will never shine! |
 |
| |
|
|
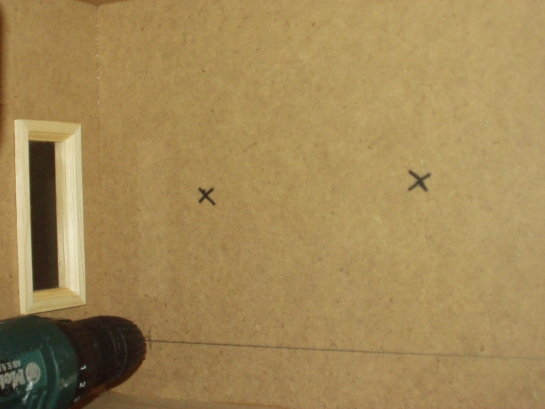
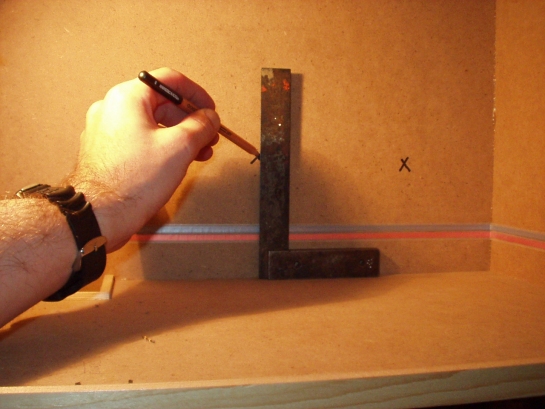
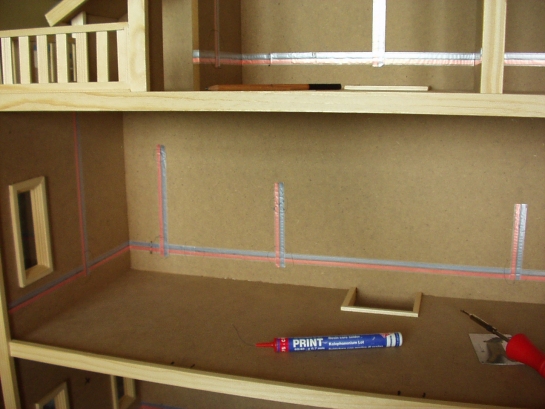
Once you
have finished your first central line, draw a line for wall and ceiling
lights. |
 |
| |
|
|
Draw a line
for each light to help you fitting the copper
tape. |
 |
| |
|
|
The first
one is in place. Proceed the same way for all your lights |
 |
|
Soldering |
|
|
With
this project we have chosen to solder the connections, check our
connections page if you prefer to use another method. The place of the
connection is the same. Do you want to go to the connection page?
Click here.
|
 |
| |
|
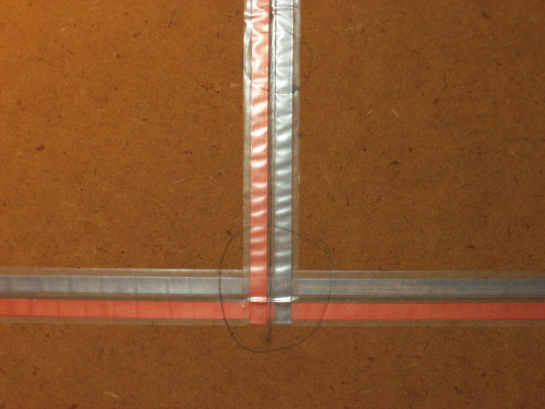
|
Indicate the spots where a connection should be made, to prevent
forgetting a step. make a map of each room in a notebook, indicating all
the lines of electrification for easy reference after wallpapering. Use
a ruler for measurements. If you know where your central line is you
will know the position of the middle of the tape, and this will make it
easy to place outlets and ceiling adaptors.
|
 |
| |
|
|
With
a hot soldering iron, melt away the plastic protective layer.
|
 |
| |
|
|
A
little removal of the plastic will be sufficient.
|
 |
| |
|
|
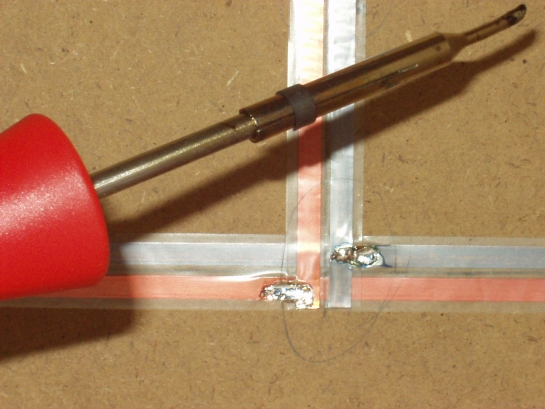
Make
the connection with a small amount of Resin Core solder. Make sure you
make a smooth connection, or it will be visible after wallpapering.
|
 |
|
Backside/Check up |
|
|
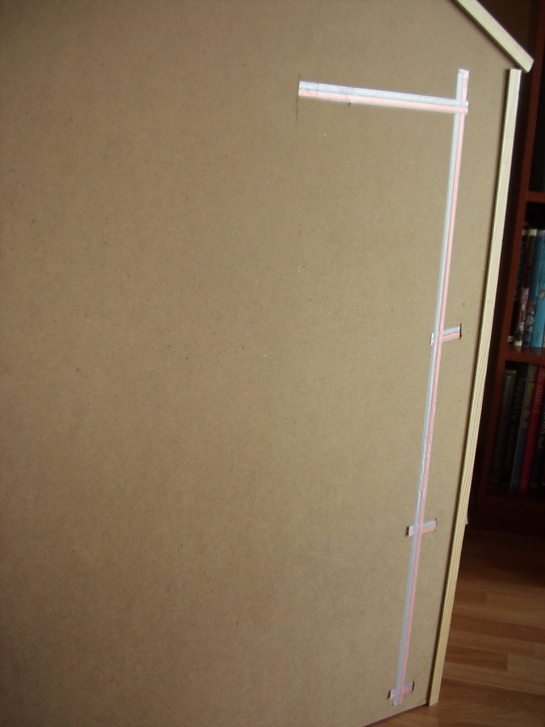
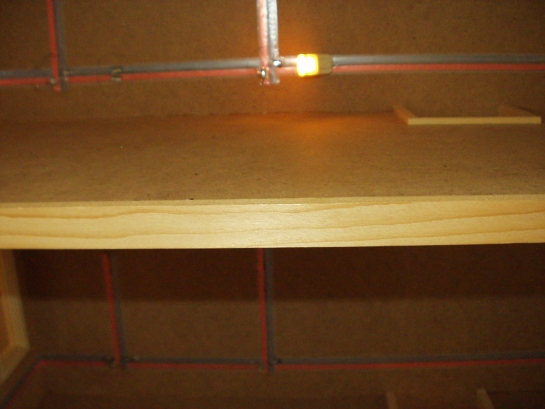
Here
you see a piece of copper tape sticking out on the back of each
floor. We will connect these pieces with a long piece of tape, starting
at the bottom, finishing at the top. We will connect the transformer to
this part.
|
 |
| |
|
|
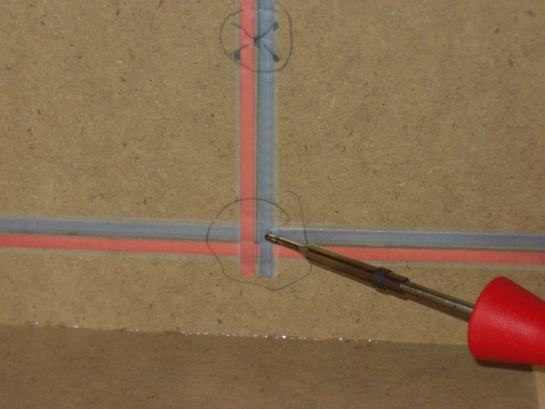
Now
is the right time to check all connections with the test tool from
Cir-Kit. Start from the point where the copper tape comes out of the
back wall and check every following connection to make sure the tape is
electrified. If there is a connection that is not contacted well, leave
the test tool in the tape, away from the connection and heat the solder
on the connection with a hot soldering iron until the test tool lights
up.
|
 |
| |
|
|
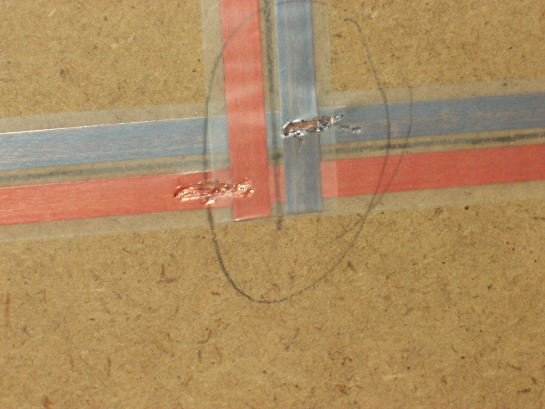
And
this is our end result. If all connections work well, seal them with
Scotch “Magic Tape,” available from stationers, or with a small amount
of clear nail varnish to prevent staining on your wallpaper. We will
discuss other Cir-Kit products in a later project.
|
 |
| |
|
|
Top |
|
